
Getting raw land ready for a build follows a fixed order: confirm permits and zoning, survey and test the soil, clear vegetation, grade and control erosion, prepare the foundation subgrade, then bring in utilities. Before equipment moves, check the EPA's Construction General Permit rules and the USDA Web Soil Survey for your parcel. A local clearing contractor can help you sequence the fieldwork correctly.
TL;DR:
- Confirm permits, zoning, and flood zone requirements early to avoid delays or stop-work orders during site preparation.
- Conduct soil borings, topographic surveys, and Web Soil Survey analysis before clearing to assess foundation and septic suitability.
- Use forestry mulching for open lot clearing and grub-and-haul near the foundation footprint to balance speed, cost, and compliance.
- Grade the site with positive drainage and install sediment controls before any clearing or excavation begins to prevent erosion violations.
- Schedule foundation subgrade and compaction testing promptly, and verify utility connections early to keep the project moving smoothly.
Table of Contents
- What permits and site assessments come before equipment arrives?
- Which surveys and soil tests do you need before clearing?
- How do you clear vegetation without creating compliance problems?
- How do you grade the pad and control erosion on-site?
- What does foundation-ready subgrade preparation involve?
- How do you handle utilities and site access during prep?
- How long does site prep take and what does it typically cost?
- What does field-tested clearing look like in practice?
- What should foundation preparation and compaction testing cover?
- How do you plan for site safety and hazard identification?
- How do you manage vegetation and protect trees worth keeping?
- Author perspective: top pitfalls and final takeaways
- How do you request a site-prep quote and what should it include?
- FAQ
- Sources
What permits and site assessments come before equipment arrives?
Before a single tree comes down, you need to know whether your land can legally be built on and what triggers extra review. Zoning offices can tell you setbacks, easements, and the square footage of disturbance that requires a land-disturbing permit. Many jurisdictions treat grading, filling, and clearing as "development" under floodplain rules, which means a development permit may be required even before you apply for a building permit; for detailed guidance on compliant elevation and flood-zone design, see Flood Zone Solar Design for Developers & Engineers.
Checking your parcel against FEMA flood maps is one of the first calls to make. If your lot sits in a mapped flood hazard area, new construction often has to be elevated to or above the Base Flood Elevation, and local NFIP guidance explains whether fill, piles, or piers are acceptable elevation methods. Skipping this step risks a stop-work order mid-project.
- Confirm zoning classification, setbacks, and easements with your local planning office.
- Check FEMA flood maps for your parcel and note any Base Flood Elevation requirement.
- Identify who holds the land-disturbing or development permit, you or your contractor.
- Order a wetlands or protected-species screening if the land borders water or wooded habitat.
Which surveys and soil tests do you need before clearing?
A topographic survey gives you contours, existing utility locations, and stakeout points your grading crew will use for the pad and drainage design. Skipping it means your grading contractor is guessing at elevations, which tends to cause rework later.
Soil testing answers different questions than a survey does. Borings tell you bearing capacity and where the water table sits, while percolation tests tell you how fast water drains, which matters if you need a septic system. The USDA Web Soil Survey is the right starting point: it provides tailored soil ratings for dwellings with basements, dwellings without basements, and small commercial buildings, based on authoritative soil mapping. Soil interpretations from the Web Soil Survey cover both foundation and septic suitability, which makes it a useful screen before you pay for a geotechnical engineer.
- Order a topographic survey for contours, utility locations, and construction stakeout.
- Run soil borings to check bearing capacity and water table depth.
- Use percolation tests if the site will rely on a septic system.
- Screen the parcel with Web Soil Survey, then confirm with a licensed geotechnical engineer if results are marginal.
A soft or high-water-table site can change your foundation type entirely, pushing you from a standard slab to a raised or pier system, so these results shape your budget before grading ever starts.
How do you clear vegetation without creating compliance problems?
Two clearing methods dominate residential site prep: forestry mulching and grub-and-haul. Forestry mulching grinds brush and small trees into mulch on-site in a single pass, leaving no burn pile and no hauling trips. Grub-and-haul physically pulls stumps and roots and trucks the debris away, which costs more but is often required directly under a building footprint or basement, since leftover root mat can cause differential settlement later.
Before any clearing starts, mark tree-save zones, confirm utility locates through 811, and place erosion controls where the survey stakes indicate.
- Choose forestry mulching for open lot clearing where stumps outside the building envelope can stay in place.
- Choose grub-and-haul for the actual foundation footprint, since grubbing removes root mat that mulching leaves behind.
- Call 811 for utility locates before any ground-disturbing equipment moves.
- Install a construction entrance and silt fence before, not after, clearing begins.
Pro Tip: Flag tree-save zones with survey tape before the clearing crew arrives so operators do not have to guess which trees stay.
How do you grade the pad and control erosion on-site?
Grading sets the building pad elevation and establishes the cut-and-fill balance that moves water away from the structure instead of toward it. Positive drainage, typically a slope of at least a few percent away from the foundation, prevents standing water against the walls. Fill goes down in lifts, each compacted before the next is placed, since skipping this step is the most common cause of foundation settlement.
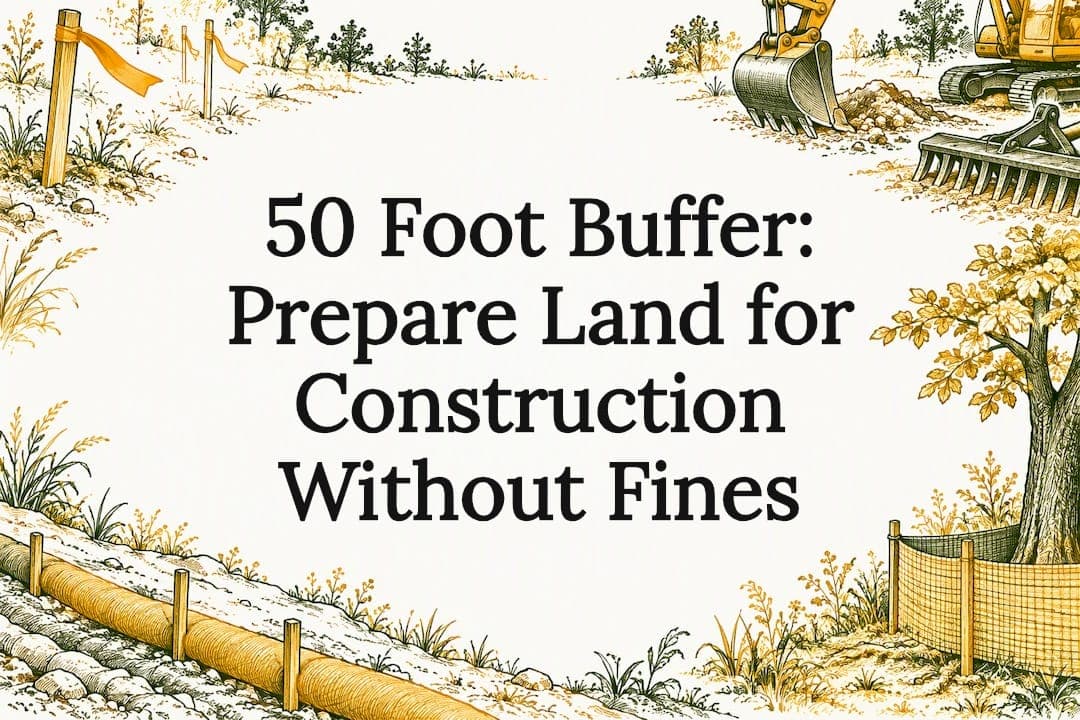
The EPA's Construction General Permit sets the compliance floor for this phase. A 50-foot natural buffer to any receiving water is the default requirement. However, equivalent sediment controls can substitute where a buffer is not feasible. Perimeter controls must go in upgradient of that buffer, and sediment has to be cleared from controls before it builds up to half their height.
- Set pad elevation from the survey, then establish positive drainage away from the structure.
- Place fill in compacted lifts and schedule a compaction test before foundation work begins.
- Install perimeter sediment controls before grading starts, not after.
- Stabilize any area that will sit inactive for 14 or more days, per CGP timing rules.
Temporary stabilization, like seeding or erosion blankets, holds the pad until permanent measures such as sod or paving go in, and that gap is where most erosion violations happen if it is left too long.
What does foundation-ready subgrade preparation involve?
Once the pad is graded, the foundation footprint needs its own round of scrutiny. Soil directly under footings gets removed if it is organic, saturated, or otherwise unsuitable, and replaced with engineered fill compacted to a specified density. Marginal soils sometimes call for lime stabilization or stone columns rather than full excavation and replacement, which can save cost on a tight budget.
Compaction testing is how you confirm the subgrade meets spec before concrete goes in. A Proctor test establishes the maximum density achievable for that soil, and in-place density tests, often nuclear gauge or sand-cone methods, confirm the contractor hit that target in the field. Ask your contractor for written compaction results, not a verbal confirmation.
- Remove unsuitable soil under footings and replace with engineered, compacted fill.
- Request Proctor and in-place density test results before pouring any footing.
- Get documentation showing grubbing depth and confirmation that no roots remain under the footprint.
- Bring in a geotechnical engineer if soils stay marginal after standard treatment, since alternative foundations may be cheaper than over-excavating.
Settlement problems traced back to this stage are expensive to fix after the slab is poured, so this is not the place to skip paperwork.
How do you handle utilities and site access during prep?
Utility coordination runs in parallel with grading, not after it. Water and sewer taps, electric service drops, and gas connections each have their own lead times and tap fees, so contacting each utility provider early avoids a stalled schedule later.
- Contact water, sewer, electric, and gas providers as soon as the permit is in hand to confirm lead times and tap fees.
- Build a gravel construction entrance with geotextile fabric underneath to keep mud off public roads, which many municipalities require before grading permits are finalized.
- Place staging areas and material stockpiles away from drainage paths, and sequence utility trenching after grading but before final stabilization.
A properly built entrance pays for itself by avoiding the fines and cleanup costs tied to tracked mud on public streets.
How long does site prep take and what does it typically cost?
Permits and survey work usually run two to six weeks depending on your jurisdiction, with clearing following in days to a couple of weeks depending on vegetation density. Grading and erosion control setup typically add another one to two weeks, and utility rough-in can run concurrently with final grading.
Cost swings widely based on a handful of variables: how dense the vegetation is, whether rock or ledge requires extra excavation, how far debris has to be hauled, and whether the lot needs a septic system or deep foundation work.
- Dense brush and mature timber cost more to clear than open scrub or pasture.
- Rock outcrops or ledge add excavation time and equipment cost.
- Long haul distances for debris or spoil increase trucking charges.
- Septic design or deep foundations add engineering and permitting time on top of base site work.
Building in contingency, often an added percentage of the site-prep budget, covers the soil surprises that surveys and soil tests cannot always catch.
What does field-tested clearing look like in practice?
One-pass forestry mulching clears brush and small trees in a single operation, turning vegetation into mulch on-site instead of leaving a burn pile or a hauling bill. For a typical residential pad, this approach finishes faster than cut-and-haul clearing and leaves usable mulch behind instead of debris.
A clearing quote worth paying for should spell out exactly what is included.
- Stump grubbing within the building envelope, not just surface grinding.
- Silt fence and construction entrance installation as part of the scope, not a change order.
- Debris and spoil handling, including where excess material goes.
Pro Tip: Schedule foundation work within two to four weeks of finished grading, since a pad left exposed too long risks losing compaction and triggering erosion violations.
Coordinating clearing so erosion controls go in immediately after, rather than days later, is what keeps a site compliant through the next heavy rain.
What should foundation preparation and compaction testing cover?
Foundation preparation starts where grading leaves off: the excavated footprint for footings, slabs, or basement walls gets its own inspection before any concrete is poured. Contractors check for standing water, loose or organic soil, and any leftover root material from clearing, since all of these compromise bearing capacity if left in place.
Compaction testing confirms the subgrade can support the structure as designed. A Proctor test, run in a lab, establishes the maximum dry density achievable for that specific soil at its optimum moisture content. Field crews then run in-place density tests, commonly with a nuclear density gauge or sand-cone method, and compare results against a percentage of that Proctor maximum, often a threshold your engineer sets based on the foundation type and soil class.

Ask for a written compaction report before pouring, not a verbal pass. The report should show test locations, depths, and the percentage of maximum density achieved at each point. If any area fails, the contractor should re-compact and retest rather than covering it over. This paperwork becomes useful later too, both for warranty claims and for resale disclosures, since buyers and inspectors increasingly ask for it.
Footing excavations also get checked for depth below the frost line, which varies by region and is set by local building code rather than by the soil report itself. Combining the compaction report with a frost-depth verification closes out this phase before foundation walls go up.
How do you plan for site safety and hazard identification?
Site prep involves heavy equipment, open excavations, and overhead or underground utility lines, so a basic safety plan matters even on a small residential lot. Before equipment arrives, walk the site and mark hazards: overhead power lines, steep slopes, unstable soil near the property edge, and any below-grade utility lines flagged by 811 locates.
Fencing or barricading open excavations and stockpiles keeps unauthorized visitors, including curious neighbors or children, away from the most dangerous parts of the site. If the lot sits near a road, traffic control signage protects both workers and passing vehicles during grading and hauling.
Equipment operators need clear sightlines and a spotter when backing up near excavations or near other crew members on foot. Establishing a single point of communication, whether that is the general contractor or site supervisor, reduces the chance of two crews working at cross purposes, which is a common cause of on-site accidents during multi-trade phases like utility trenching combined with grading.
A written hazard list, even a short one, also helps when you bring in subcontractors who are unfamiliar with the site. Sharing it before work starts, rather than relying on a verbal walkthrough, keeps expectations consistent across crews and reduces the liability exposure that falls on the property owner when an undocumented hazard causes an injury.
How do you manage vegetation and protect trees worth keeping?
Not every tree on a lot needs to come down, and protecting the ones you keep takes planning before clearing starts, not after. Mark tree-save zones clearly with survey tape or temporary fencing so equipment operators know the boundary before the first pass. Roots extend well beyond the drip line of mature trees, so protecting the trunk alone is not enough: equipment and stockpiles need to stay clear of the root zone to avoid compacting soil the tree depends on.

Topsoil stripped during clearing is worth stockpiling separately rather than mixing it with subsoil or construction debris. Reusing that topsoil for final landscaping restores some of the site's original fertility and cuts down on how much imported soil you need to buy later.
Clearing in phases, rather than stripping the entire lot at once, limits how much bare soil sits exposed to rain between clearing and stabilization. This matters most on sloped lots, where exposed soil erodes fastest and sediment runoff is most likely to cross a property line or reach a drainage way covered by EPA's erosion control requirements. Leaving a vegetated buffer strip along property edges, even a narrow one, slows runoff and gives sediment controls a better chance of working as designed.
Author perspective: top pitfalls and final takeaways
The biggest mistake I see is clearing before permits and erosion controls are confirmed, which invites stop-work orders and fines. Protect topsoil where you can, sequence trades to avoid rework, and order soil testing any time you have doubts about bearing capacity.
— Yoshua
How do you request a site-prep quote and what should it include?
Clearing and grading go faster when one crew handles the groundwork from start to finish. Our forestry mulching turns brush and small trees into mulch in a single pass, so there is no burn pile and no hauling bill, and we pair that with stump grinding, gravel entrance installation, and full land clearing for construction scopes across the Ohio-Kentucky-Indiana area.
A site-prep quote from our team covers the clearing method, stump handling, and any erosion control work your project needs, priced after a site walk. The company offers pricing and flexible financing options for larger jobs, so you can see numbers before committing. Request your quote through our services page to get a timeline and price for your lot.
FAQ
How much does it cost to prepare land for construction?
Cost depends heavily on vegetation density, soil conditions, rock or ledge, and whether the lot needs septic or deep foundation work, so there is no single figure that applies broadly. Getting a site walk and written quote from a local clearing or grading contractor is the most reliable way to price your specific lot.
Why would land not be buildable?
Land can be unbuildable due to zoning restrictions, unresolved easements, wetlands or protected habitat, or a location entirely within a high-risk flood zone where elevation requirements make construction impractical. Checking FEMA flood maps and local zoning early in the process catches most of these issues before you buy or design.
What are the 7 stages of construction?
Definitions vary by source, but a common sequence covers site preparation, foundation work, framing, exterior work (roofing and siding), mechanical and electrical rough-in, interior finishes, and final inspection. Site preparation itself, covered in this guide, is the phase that determines whether every later stage goes smoothly.
Is it cheaper to buy land then build?
Buying raw land and building can cost less upfront than an existing home in some markets, but site prep, permitting, and utility extension costs vary widely and can close that gap depending on the lot's condition. A soil test and site assessment before purchase helps you estimate those added costs accurately rather than guessing.